Ready or Not is a tactical, squad-based shooter where players must work together to survive. Engage in the real-world hostage and active shooter situations where communication is key. One of the newest missions, Valley of the Dolls, requires players to secure hard drives with key evidence. Today, we’ll walk you through the mission with our Ready or Not all hard drive locations: Valley of the Dolls guide!
Ready or Not Valley of the Dolls: How to Find All Hard Drives
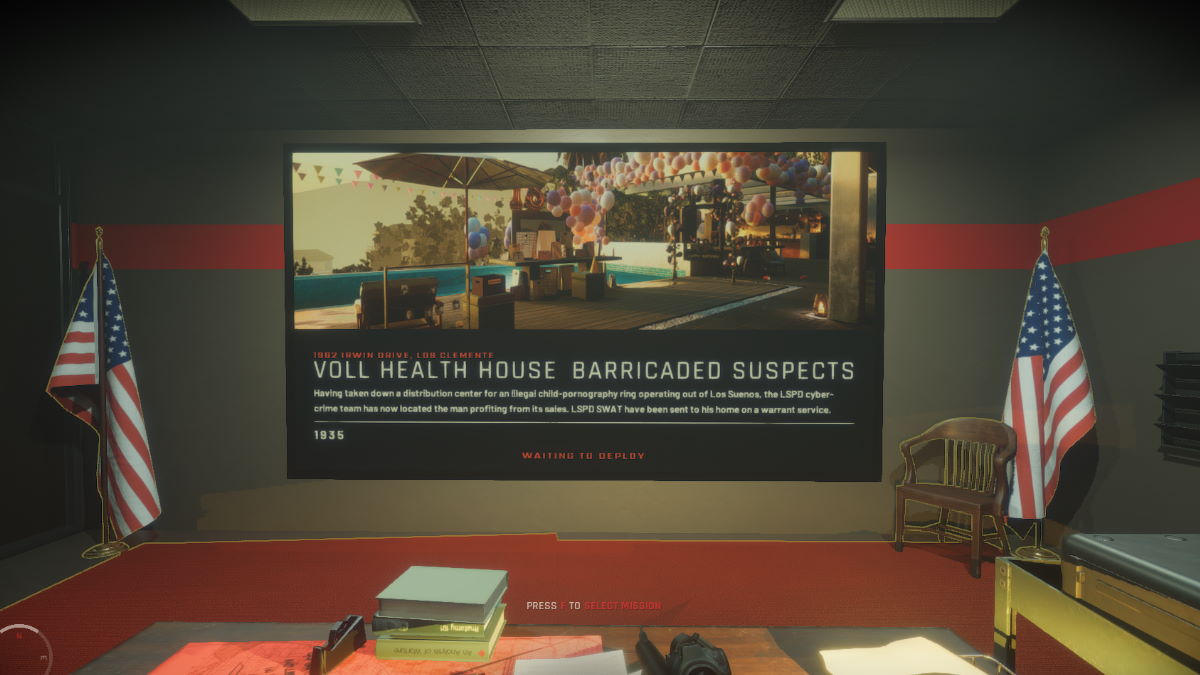
Valley of the Dolls take place at the Voll Health House. The LSPD has recently taken down an illegal trafficking ring operating in Los Suenos, and now they’ve pinpointed the man profiting from it all. Your main objective is to head into the mansion, secure all key evidence, and rescue any hostages.
Valley of the Dolls Objective 1: Laptop
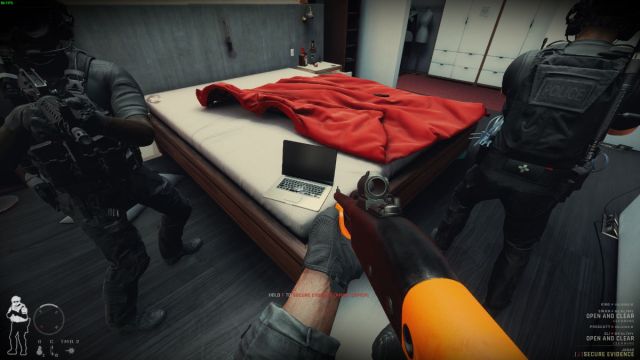
Though this technically isn’t a hard drive per se, Amos Voll’s laptop is one of the required pieces of evidence you must secure, and it’s usually the first one you’ll come across. The mansion has basically three stories to it, and you start at the highest story, working your way down.
The laptop is on third story, which is where your entry point is. After you breach your way into the mansion, you should be in a living room with a large TV on the wall. On your left, you should see two doors, and you want to open the one farthest away from you.
You should be in a grandiose bedroom with an impressively large trophy case. Head around the center divider in the room, and you should see a big bed with the laptop sitting on a corner.
Valley of the Dolls Objective 2: First Hard Drive
Now that you have the laptop secured, it’s time to find the two hard drives. These hard drives contain evidence of Amos’ trafficking ring, so they’re exactly what you need to put him behind bars.
The first hard drive is located on the second story of the house. From the bedroom, head back out into the living room, then go all the way to the back of the house from where you entered. You should find a large staircase that takes you down.
Go down the stairs, and you should be in a small corner living room. Take the door on your left, and you’ll be taken to a large foyer with more stairs going down on your right. Ignore them for now, and open the door straight ahead of you.
You’ll enter another small living room, with a large couch and TV in the middle. There’s nothing of importance here, though there may be an enemy, so keep an eye out. When you’re ready, open the door on the right to enter an office.
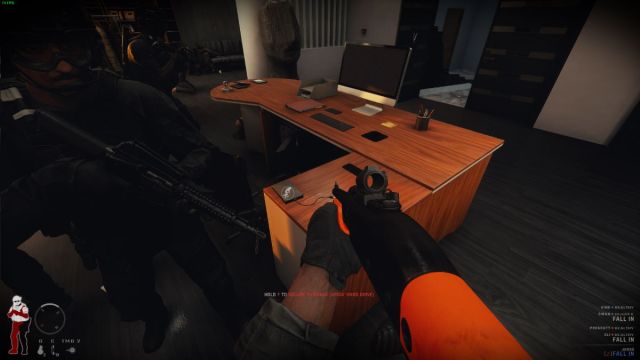
Right in the middle of the office is a computer desk with a bunch of components on it. On the left side of the desk is the first hard drive you need to secure, so go ahead and grab it.
Related | Ready or Not Co-Op Player Limit: How Many People Can Play Ready or Not?
Valley of the Dolls Objective 3: Second Hard Drive
The final hard drive is unfortunately located in the secret basement of the mansion, which means you’re going to have to fight your way through a lot of security guards.
From the office, head back out to the foyer and this time take the staircase leading down. You’re now on the first floor, which has a bunch of art sculptures decorating the place. You should see a pair of double doors that lead out to the backyard pool, so go there.
Upon entering the backyard, make a left and go around the corner. You should see a wooden door and a security gate that says NO ENTRY. Naturally, we want to enter there, so go ahead and breach it, then head down the stairs.
There will most likely be a security guard at the bottom of the stairs, so heads up. Breach and clear, and then you’ll find yourself in a very disturbing series of rooms involving the girls from the trafficking ring.
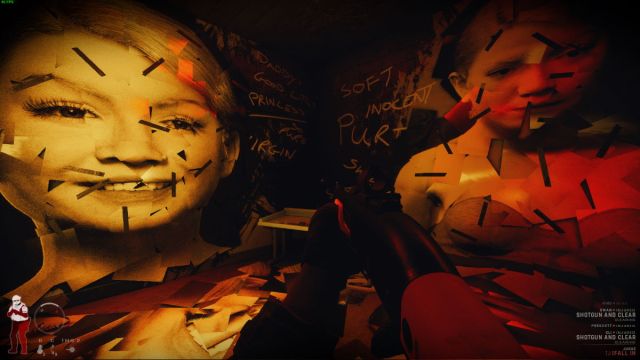
The basement section is fairly straightforward, so make your way forward, and you’ll eventually end up in a room with a very large photo of the daughter scrapped together on the wall. Pretty disturbing, but the final hard drive will be sitting on a nearby table.
That’s it—you now have all the evidence you need to guarantee Amos’ arrest. At this point, you should have eliminated all the security guards, completing the “bring order to chaos” objective. You’ll probably need to secure a few more civilians, but then you’re pretty much done with the mission.
That concludes our guide on Ready or Not’s Valley of the Dolls hard drive locations. If you have any other questions or tips, let us know in the comments below! Thank you for reading!




Published: Jan 17, 2023 12:24 pm