In today’s article we are going to cover all of the Survival Isand: EVO 2 tips and cheats so that you can learn how to better deal with the enemies, how to properly build a house and how to survive on the island.
If you love survival games you will have quite a good time, because the game has good graphics, relatively easy gameplay, and a pretty relaxing atmosphere. I am pretty certain that if you are dedicated, you will always have tasks to aim for, and even if you want to just collect various resources, you can do that auto – but more about that below.
For now let me start by introducing you to the very basics of the game. Once you are familiar with them, we can move on to the more detailed stuff! So let’s not waste another moment and dive right into the Survival Island: EVO 2 tips and tricks right here below!
Learn the game’s basics
The very basics of the game are going to be key in you surviving a long and healthy life. The basics are super easy to remember, because they are… well, basics. So if you learned them by now, then you can skip this part, but I really suggest that you check them out because you might learn something new!

– You can collect items by tapping on the hand button on the bottom right side of the screen. If an item has a green outline, it means that it can be collected.
– You can check out your inventory and equip various items, which you can use for different tasks. For example, the axe is used to cut down the trees, but it can also do damage to enemies (though not a lot).
– You can eat to restore HP. Some foods restore more HP than others.
– You can store various items that you don’t need to use immediately in the chests so that you have a few bag slots empty.
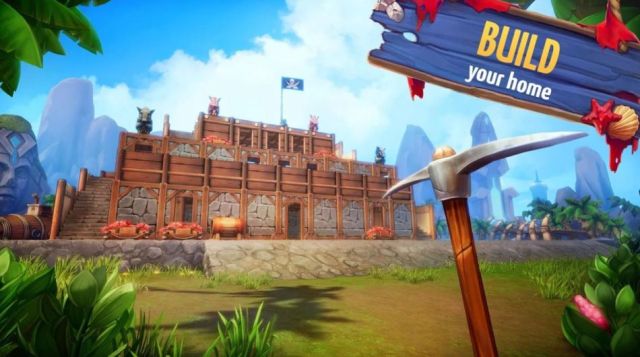
– You can build a cozy shelter by collecting enough wood and other necessary materials, to basically set up a “base”.
Always loot everything that you can
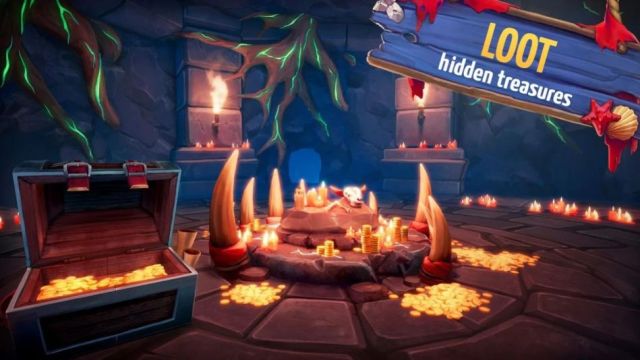
There will often be chests laying around the island, that probably were not put there by you. Well, whenever you see a chest make sure that you go over to it and loot it by tapping on the hand icon when in range. Once you did this, tap on the “take all” option to quickly loot everything that the chests contain.
They are random and pretty rare, often appearing in places where there are enemy camps and so on. Just make sure that if you run into one, you have enough bag slots to claim all of its contents, because there are usually more rare items inside.
If you don’t have enough of the bag slots empty to pick up all that you see, just make sure that you remember where you found the chest, so that you can come back later and collect everything.
Do the in game quests
In the game you will have various tasks that you can complete in order to claim more free rewards. These tasks will be shown on your main game interface by default in the top left corner, but you really aren’t forced to complete them right away!
If you don’t want to complete the in game quests it’s fine, but they are good because they give you a sense of purpose and direction, so if you are not certain what to do next, you can just try to complete the in game quests!
You can find their detailed description in the bottom side of the screen, the very first button, the “Quests” button. There you will see the quests on the left, and on the right a detailed description of them, as well as the rewards they give. You can tap on the “?” to learn more about each task individually – from where you find the contents, to what exactly you need to do.
I suggest that you do these in game quests because they will give you EXP and other resources, which are free if you think about it. It’s definitely worth doing them, because the faster you level up, the sooner you will be able to unlock other craft-able items.
Log in every day for cool free rewards
While you are in the “Quests” tab, you will see that in the top side of the screen you can choose to check out another tab, the “Login Reward” tab. There you will have a monthly rewards list which is different, from day to day.
Every month this list will change, so make sure that you check this out every day that you log in to the game just to claim these rewards. You can get free complete items, Coins, armors and copper tools. Another cool item you can claim from the log rewards is the Black Mark, which I will cover below.
Just remember to log in every day to the game, even if you don’t really plan on playing the game that particular day! It will definitely be worth it because you are getting free items, for doing absolutely nothing! So just make sure that you log in every day to claim the rewards, and then you can log off!
Black Marks save lives
The Black Marks can be claimed from daily rewards, but also from the in game Store. They are items which let you “escape death” that might come from various causes. They are a very useful item, because the purpose of this survival game is to survive. So if you die, you defeat the purpose of the game.
Once you die in game, you will lose some of your progress, so it’s really not ideal. That’s where the Black Marks come into play. You can buy them with real money, or you can claim them from the daily logins, but that’s about it. So make sure that you do not die.
Basically once you die, you will have 10 minutes to decide how you want to revive: for free or by using Black Marks. If you revive for free, you will have 10 minutes to go back to your corpse and collect the items you had on you when you died, otherwise the body will despawn.
Always have the necessary materials for extra tools
Whenever you are using a tool, you will see that the icon for that tool is going to appear as your “main weapon”. Well, around that, you can spot a light gray circle, which will wear down as you are using that item.
When the “endurance” of that item has reached 0, you can no longer use the item so therefore it’s about time to equip another one. If you happen to be in a fight when that happens, then unfortunately you might just end up dying unless you think fast.
This is why I really suggest that you always have enough Stone and Wood on you at all times, because no matter what, you will need them. So make sure that you always have at least 5 Wood and 5 Stone on you at all times.
Auto gather and relax
If you want to casually relax in the game while you are still “working” (a.k.a. collecting various items) then you can rely on your trusty “Auto” option for that. This option can be found in the bottom left corner of the screen and by tapping on it you will send your character to automatically start gathering.
I suggest that if you are looking to just spend some time in game relaxing and leveling up without doing much work, then you should tap on it and just wait. When you do this, your character will start collecting and chopping down trees left and right.
This will add EXP to your EXP bar, so it’s definitely a good way to spend your spare time in game. It’s an easy way to farm and I definitely suggest that you do it when you are not sure what to do (or don’t want to do the quests).
Manage your bag storage
Since you will not have a whole lot of bag slots early on in the game, I suggest that you take your time and sort things out. Make sure that you have built a Wooden Chest where you can store your items that you will not use very often, and the rest – keep them in bag.
Make sure you have always some food on you, as well as an emergency medical kit and the (at least) 5 Wood and 5 Stone that I mentioned before. The other slots, keep them empty because if you are going to go exploring, then you will need as many slots as you can get your hands on.
Think before you unlock
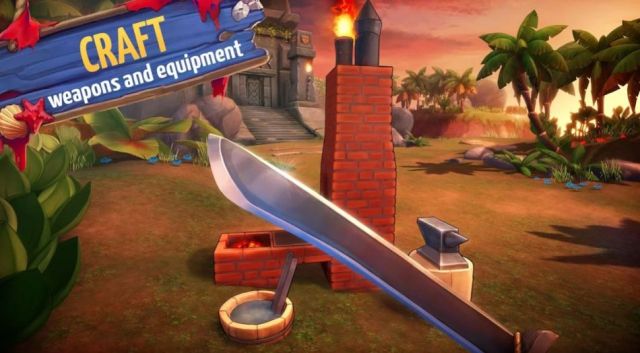
You will be able to unlock more crafting stuff by heading on to the “Craft” menu. There, you can see that some items are craftable (on the first row), but the rest which you have unlocked have a small blue icon in the corner.
That icon means that you will need a Gear to unlock crafting that item. Since you don’t really have unlimited Gears, make sure you think carefully which ones you want to unlock crafting first, because they are not all worth unlocking early on.
For example, the ones that you should probably consider are the Campfire, the Garden Bed (if you want to rely more on cultivating plants to grow veggies), the Water Collector, Sawmill and other useful items.
The items which lean more onto the “decoration” side should not be a priority early on, because you should focus more on surviving.
Kite the animal attacks
Every now and then you can attack other animals that you see (however, be careful around the crocodile). I suggest that you do not approach them with the melee weapon, because it is going to be super dangerous.
Also, some of them will fight back. Make sure that you are moving at all times, and are not a sitting duck because it’s not really going to be good for your health. Try to dodge the attacks by moving constantly. For this, the best weapon will be a gun, with which you can aim from a distance.
These would be all of our Survival Island: Evo 2 tips and tricks that we have for you right now! Do you know some more useful survival tips and tricks? Leave them down in the comments section below and share them with everyone!






Published: Sep 4, 2019 12:33 pm