Clear Vision 3 has just been launched and it proves so far to be a great sequel to an already great… sequel. Jokes aside, I am here to help you with a complete Clear Vision 3 walkthrough, and we’ll start with the Central Missions guide (since the first set of missions is really easy to complete and I doubt you need any help with them).
All the missions are below, complete with screenshots indicating where to shoot and how to shoot to complete the mission like a pro. So let’s check out below the Clear Vision 3 walkthrough for the Central Missions!
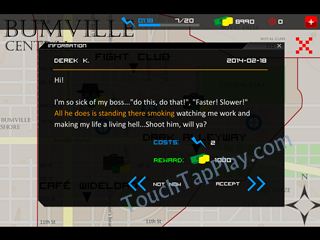
Clear Vision 3 Walkthrough: Derek K. mission
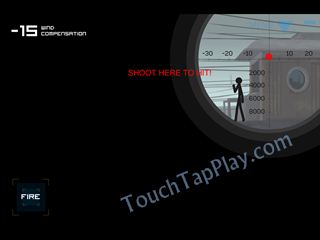
How to complete: move to the top right side of the screen – there will be a tutorial explaining where to shoot in order to hit. So first hold the aim on the head of the victim to calculate the distance compensation (you will adjust it on the vertical line), then use the wind compensation shown in the upper left corner to get the shot. In my example below, I only have one upgrade to the sniper’s power, that should be enough:
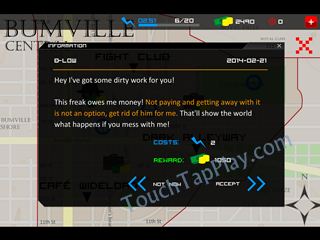
Clear Vision 3 Walkthrough: D Low Mission
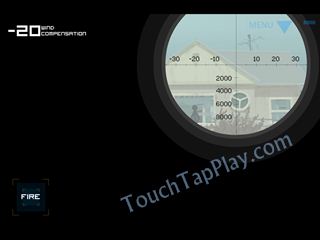
How to complete: This is a moving target. I suggest locking on him on the left window, after adjusting wind and distance compensation. Simply wait for the guy to come back into the spot, adjust the sniper as seen in the image below and you’ll get your job done!
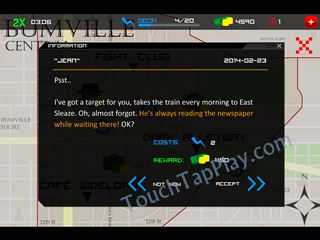
Clear Vision 3 Walkthrough: Jean Mission
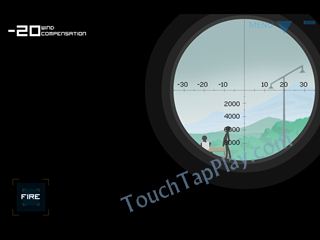
How to complete: Calculate the wind and distance compensation and quickly shoot the guy before the train arrives. Use the screenshot below for the exact placement of the aim.
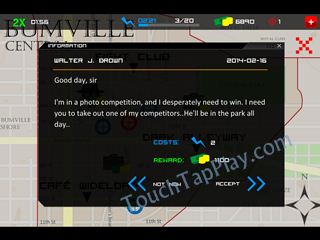
Clear Vision 3 Walkthrough: Walter J. Brown
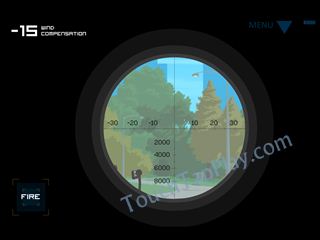
How to complete: Again, calculate the wind and distance compensation and adjust aim as seen in the image below:
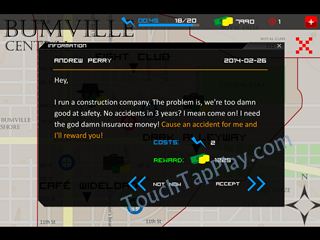
Clear Vision 3 Walkthrough: Andrew Perry
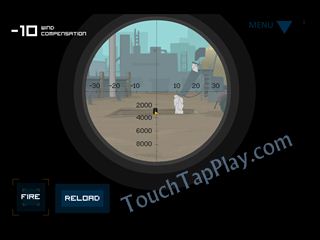
How to complete: This one’s a little tougher. You should move your scope to the upper left area where a huge metal bar is. Check the distance compensation of the left rope holding the bar and shoot it:
The result will be an “accident”:
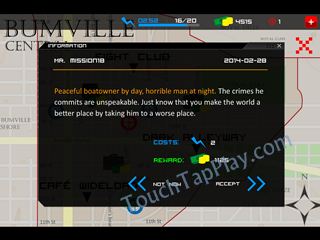
Clear Vision 3 Walkthrough: Mr. Mission18
How to complete: I still managed to do this without upgrading the Power of the sniper once more. Here’s where you should aim for complete success:
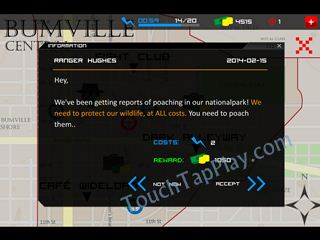
Clear Vision 3 Walkthrough: Ranger Hughes
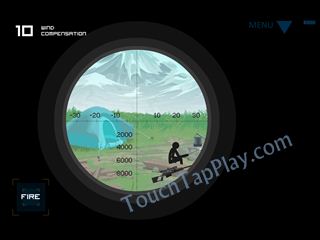
How to complete: You can shoot any of the bad guys, the other will run away. Just to make things easier, I show you below the aiming for each of them:
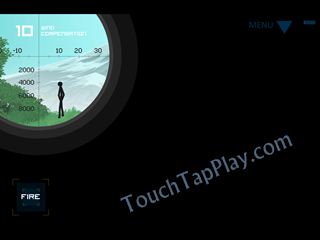
Here is the second bad guy (again, remember that you only have to shoot one):
Clear Vision 3 Walkthrough: Bennet
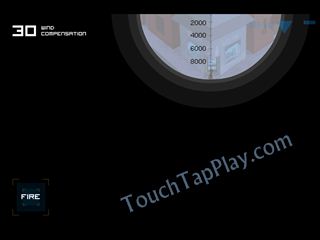
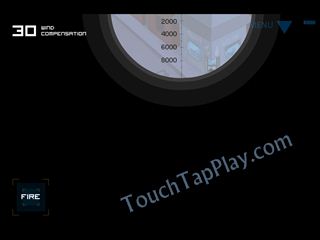
How to complete: This one is really difficult to complete without a new power upgrade for your rifle. Aiming should be done in two steps: first the distance, which is easy to get to:
Then the wind compensation. Use the walls as a guideline for the compensation, but look at the line at the bottom, as the one above is not straight:
Clear Vision 3 Walkthrough: Karen
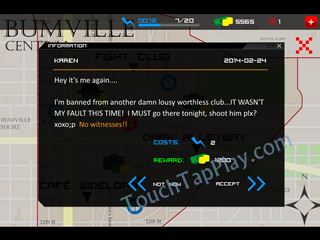
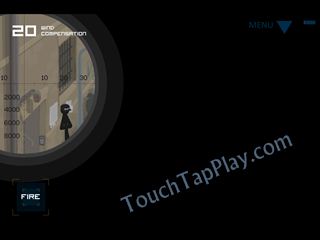
How to complete: This one absolutely requires an upgraded power to make things work perfectly. First shoot the bouncer, which is easy to shoot, then quickly adjust for the hobo who must be shot too since there have to be no witnesses:
And this is our walkthrough for the Clear Vision 3 central missions. Stay tuned for even more missions completed and fully explained by us!







Published: Jan 29, 2014 10:16 am