So you’ve been to Shattered Moon the second time and finally killed Rayvis after that long and exhausting fight. Kudos to you because that was the most challenging boss for us thus far in the game! However, you can’t rest just yet. To find a way to reach Tanalorr, you have to go through Dagan who is hiding back on Koboh.
If you’re wondering how to find and confront Dagan at the Koboh Observatory in Jedi Survivor, we have a straightforward guide to get you there the fastest.
Related: How to Solve Whistling Drop Wind Puzzle in Star Wars Jedi Survivor
How to Find and Confront Dagan at the Koboh Observatory in Jedi Survivor
This quest begins automatically after the fight with Rayvis, so you need to get out of the laboratory first and reach Mantis to travel back to Koboh. The platforming sequence is not simple by any means, so make sure to time your jumps between zip lines, grapple balloons, and floating walls properly.
Foothill Falls and Mountain Ascent Walkthrough Tips in Jedi Survivor
Once the Mantis lands, you will have to go explore the new section of the Koboh map if you want to find Dagan Gera. Maybe you’ve already been to Foothill Falls and Mountain Ascent, but you most likely haven’t progressed far without the ability to pass through green barriers and use grappling balloons.
As you enter the new area, keep choosing the path to your right whenever possible unless you want to explore everything right away and get all the collectibles. The path contains many fights with the local fauna and the Imperial Forces so make sure you equip the stances and perks you are experienced with and switch them as needed.
Fogged Expense Walkthrough Tips in Jedi Survivor
When you get to the big metal gate, use the Force on the nearby wheel to open it and make your way to the area called Fogged Expanse. When you get to the next meditation point, you can go over the land bridge and through the small tunnel with arches right away and head right when you pass by some abandoned huts. You will have to fight two Mogus in this area quite close to each other, so be prepared—avoid their attempts to grab you and wait until their far-reaching combos are done before you strike.
Follow the path up to the crash site, where you will have to defeat a group of Imperials before you get to explore the ship. We loved just manipulating the troopers into ending one another from the cliff above and then killing the last one. This is particularly efficient if you’ve invested your skill points into the Confusion skill tree and got the top skill for manipulating all kinds of humanoid enemies. Use this approach if you don’t have that many stims left at this point and need to avoid challenging enemies at all costs.
After the crashed ship cutscene, you will finally be able to use the electro darts with BD-1’s help, circle back to the meditation point at the beginning of this area, and take the new path up that will lead you to the Marl Cavern.
Imperial Post Walkthrough Tips in Jedi Survivor
The Marl Cavern sequence is pretty short and quite straightforward once you’re done with some challenging wall-running sections. Eventually, you will make your way to the next meditation point where you should replenish your health. As you get ready to jump into the fight, look to the right side of the door and use your new electro dart ability to make a hanging ship fall and take out some of the troopers. You will need all the help here because you will have to face off against several waves of enemies before you can get to the elevator.
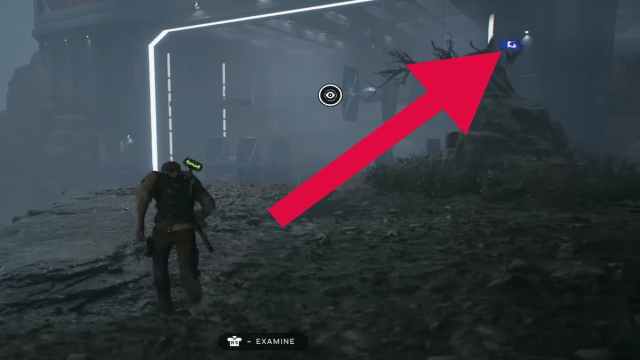
Use your Jedi mind tricks to persuade the trooper to open the door and get ready for another boss fight—this time, with a trooper called Rick the Door Technician. Beating him will reward you with some magnificent vistas as you proceed to climb and move into the area called Summit Ridge and get to another meditation point. Prepare yourself for a lot of jumping from one grappling balloon to another before you get to Observatory Understructure. If you have a fear of heights—we’re sorry.
Koboh Observatory Walkthrough Tips in Jedi Survivor
When you get to Observatory Understructure, you will have to go around and destroy the Koboh matter from the inside so that you can take the grapple balloon out, place it in front of the rotating structure of the adjacent building, and jump through the opening in the wall.
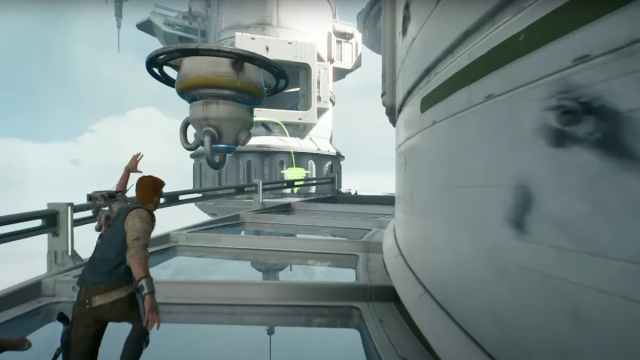
There will be some more balloon jumping before you get to an area swarming with Imperials. To get through the fight with minimum damage, use Force to push troopers off the ledge whenever possible. Keep heading up jumping from structure to structure until you get to a big rotating propeller with an electric barrier. Use the endpoints for grappling and jumping counterclockwise until you can reach the climbing area right next to the electric fence.
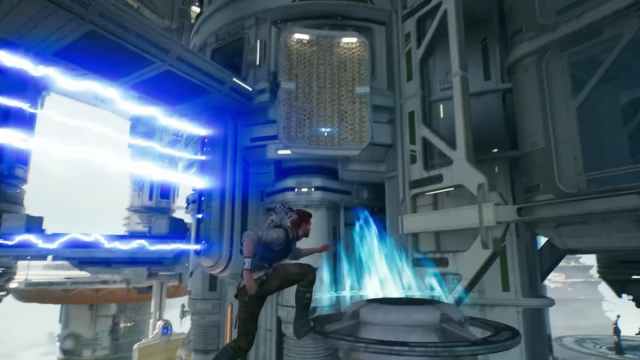
Before much longer, you will need to fight another boss—Urgost, Fist of Rayvis. After the fight and when you reach the locked door, go back a bit and look to your left for the chance to use your electro darts and open up a new path with some more grappling balloons. Climb the rotating structure all the way to the top and meet up with Bode.
From that platform, move to the right to see another target for your electro darts. Grab the grappling balloon and look a bit to the left to find the way up and place the balloon between you and the exposed metal that you can climb.
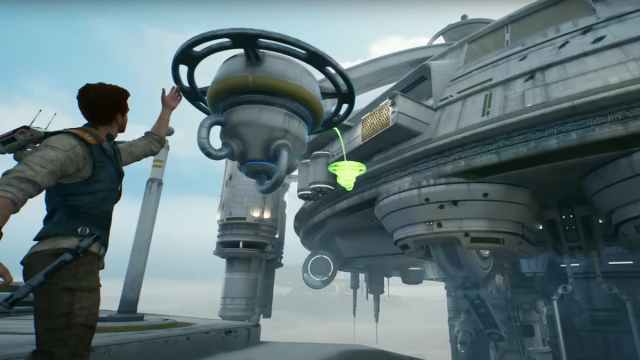
Once inside the Diagnostics Corridor, you will need to use rotating wall panels to get to a green barrier and another meditation point. There are some high-level enemies ahead so make sure you replenish your health and stims here.
When you’re done fighting, grab a grappling balloon from the next room and get back to the opening in the circular chamber so that you can jump to the exposed metal wall on the opposite side and continue wall running to the observation deck.
From then on, it’s pretty much a smooth ride until you finally reach the observation deck and get to confront Dagan. Renew your stim supply at the meditation point in front of the room and prepare for the fight.
Good luck with Dagan—we hope you beat him on the first try! And if you need more help with this game, check out more useful guides in our dedicated Jedi Survivor section here on TouchTapPlay. May the Force be with you.







Published: May 5, 2023 01:10 am