Minecraft’s mod scene is rapidly growing, and hundreds of mods are being released every day with the release of new updates. Aquarium mod is among the many popular addons available for Minecraft.
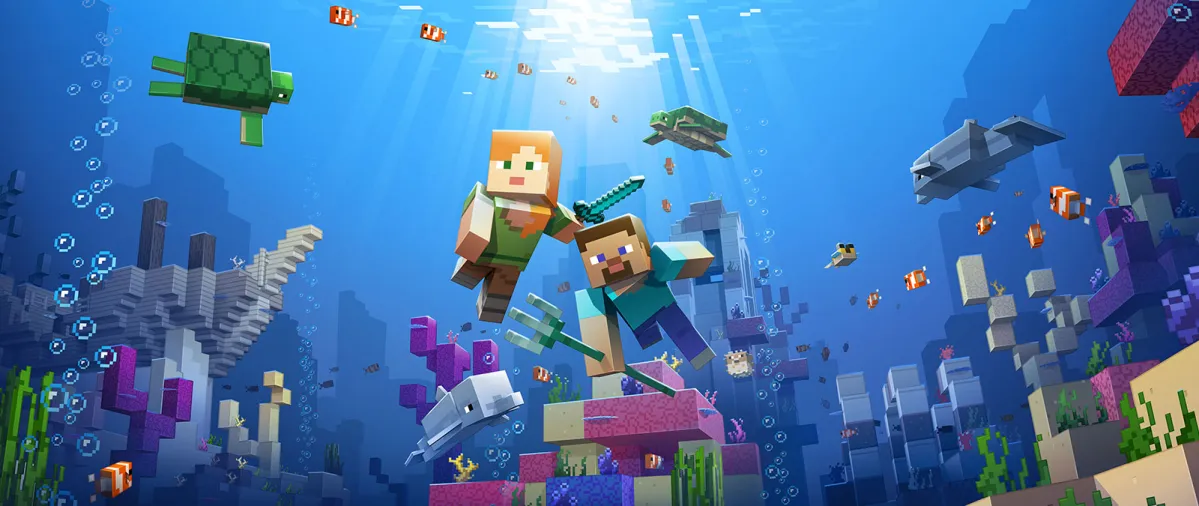
Minecraft’s Aquarium mod allows you to access a whole new biome/dimension full underwater. On top of that, players also get to see flying jellyfish and other strange creatures after installing this mod. By the end of this guide, you will learn how to download and install Aquarium Mod for Minecraft.
Download and Install Aquarium Mod for Minecraft

Installing the Aquarium mod for Minecraft is relatively easy and can be done by following these steps:
Step 1: Download the Aquarium mod from here.
Step 2: The addons are usually downloaded either in a ZIP or RAR file.
Step 3: Locate the downloaded ZIP file in the Downloads folder.
Step 4: Double click on it and select the location to extract the files.
Step 5: Open the extracted folder and launch the downloaded addon file.
Step 6: Minecraft will now open and import the addon.
After installing this mod, players will wake up in a world with partitions of tropical and vibrant water followed by colorless blocks, mushrooms, and lurkers.
If you still have any questions regarding the Minecraft Aquarium mod, feel free to ask them in the comments section.
Minecraft is one of the most popular creative games currently available on PC, PS4, PS5, Android, and iOS.
Related: Top 5 Best Texture Packs for Minecraft Bedrock Edition


Published: Apr 13, 2022 03:55 am