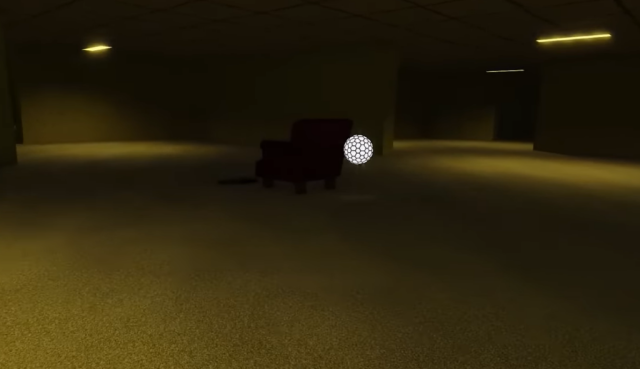
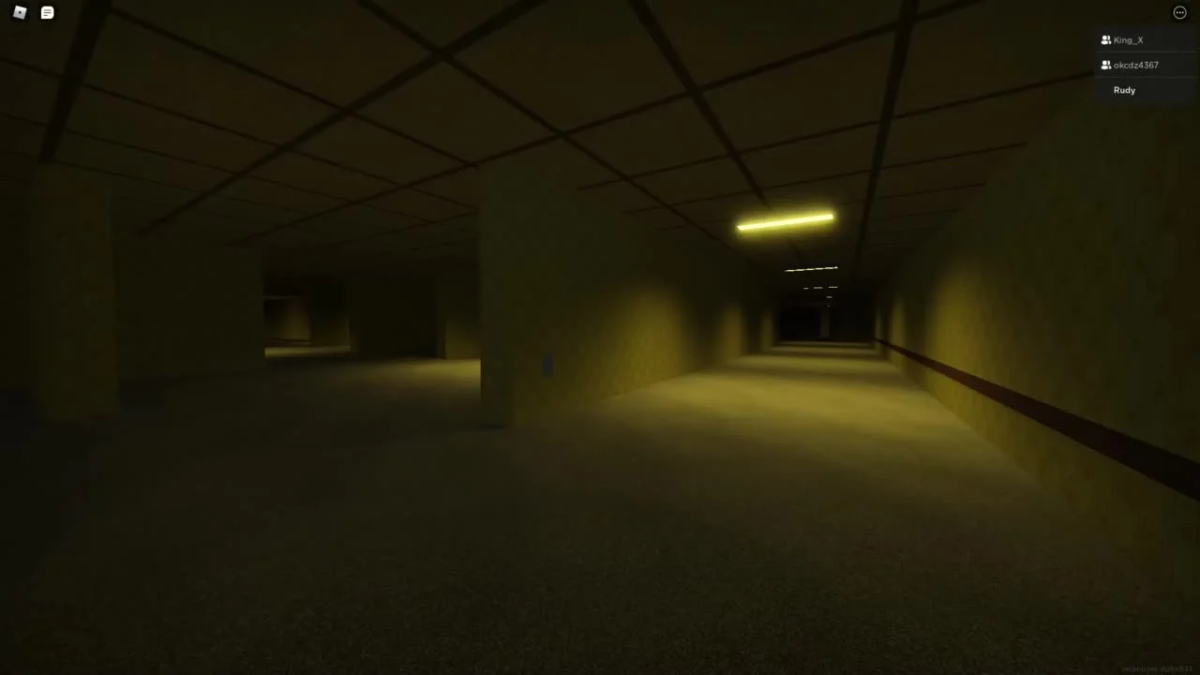
There are lots of interesting projects that you can find on Roblox and one of the most exciting ones is known as Roblox Apeirophobia. There you will have to play lots of dark levels and you may want to make them brighter. In order to do it, you will have to use the night vision feature. So, this guide will tell you how to get night vision in Roblox Apeirophobia.
How to Obtain Night Vision in Roblox Apeirophobia

Roblox Apeirophobia is one of the most popular projects that you can find on this platform. There is a huge hype around this game and it seems that new players have some problems with it. One of the biggest issues that these players complain about is dark levels. So, let’s try to solve this problem.
Related: How Many Levels Are There in Roblox Apeirophobia? – Answered
In order to remove darkness and shadows in Roblox Apeirophobia, you will need to use the night vision feature. However, if you want to enable it you will have to download some shaders. Here is the list of steps that you need to follow to use the night vision feature in Roblox Apeirophobia:
- Download the free version of the RoShade shader.
- Install the RoShade shader.
- Launch Roblox Apeirophobia.
- Press the F7 button to open the shader overlay.
- Enable the rim light feature.
- Press the F7 button to close the shader overlay.
- Press the F8 button to enable the rim light feature.
If you use this shader to get night vision in Roblox Apeirphobia you will enable the effect that removes shadows and darkness. However, the game may look weird and you should use this feature carefully.
There are lots of interesting games that you can find on Roblox and some of them may be problematic. We will be glad if our guide helps you to solve your problems with Roblox Apeirophobia and enjoy your playthrough. Good luck with your adventures in Roblox games!


Published: Jun 25, 2022 06:27 pm