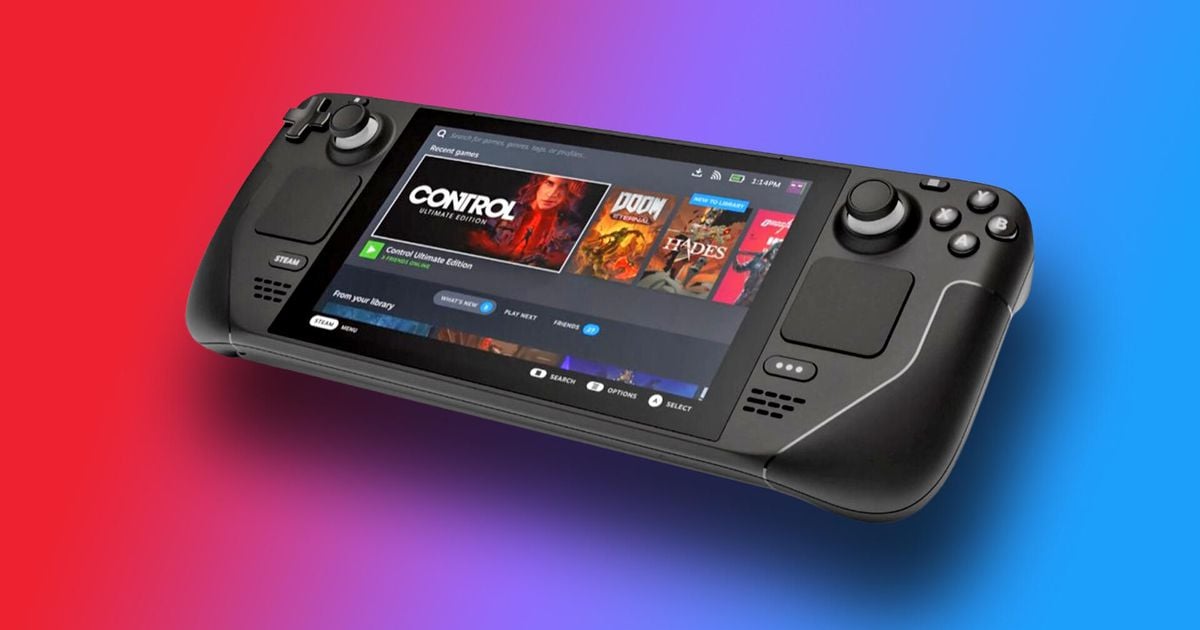
Running Windows OS on Steam Deck seems to be the best option if you want to play or download games from other stores. The handheld PC comes with SteamOS out of the box, a Linux distribution from Steam. However, Valve has done everything to make the Steam Deck similar to a PC, even allowing users to take matters into their own hands and swap in a new Windows OS to replace its SteamOS or dual boot, whichever feels okay. However, running Windows OS on Steam Deck comes with problems of its own and isn’t recommended at this point.
This is so because the Windows drivers for Steam Deck aren’t finished, this can hamper the performance. Furthermore, you will need an Ethernet to USB-C adapter to connect to the internet and the speakers don’t work on Windows as well. You can only get Windows 10 to run on Steam Deck as Windows 11 requires a firmware TPM which currently hasn’t been worked out in the Steam Deck’s BIOS. Lastly, there is no way to restore your Steam Deck to SteamOS, so if you go all-in at installing Windows on your handheld device, you will be stuck with it until Valve releases a public recovery image for users to use to revert back to SteamOS. So, it’s better to it hold it off.
However, for those who want to embrace all these issues and caveats, here’s how to install Windows on a Steam Deck.
RELATED – Are Steam Deck Owners Running into Joystick Drift Problems
How to Install Windows on Steam Deck
There are two ways to run Windows on the Steam Deck. You can either install Windows on the internal SSD or run it off a microSD card. While the first method will make your OS run faster, the latter is more reversible until Valve comes up with an official guide on how to dual boot.
Below are both the methods to install Windows on a Steam Deck:
Method 1 – Installing Windows to Steam Deck’s SSD
1) Create a Windows 10 installation drive
You’ll need to create a Windows installer on a USB drive. Visit this link here to create one. Simply follow the instructions to build the installation media.
2) Turn off the Steam Deck and plug in the USB drive
Connect a USB Type-C flash drive directly into the port on the Steam Deck. If you don’t own one, you’ll need a USB-C hub to do so.
3) Turn off the Steam Deck. Wait for it to shut down completely. Then, press and hold the Volume Down button and power on the system via the boot menu
Use the D-Pad to get to the “EFU USB Device,” then press A to select it.
4) Allow the Steam Deck to boot up
5) You will see the Windows installer will start.
6) Select your preferred language and click on “Next.”
7) Click “Install Now.”
8) Activate Windows
Enter the product key if you have one or choose “I don’t have a product key.”
9) Select your version of Windows, then click “Next.”
10) Agree to all the terms and conditions to proceed
11) Choose a Custom Windows Install
12) Delete any or some of the partitions to make room for Windows
13) Choose “Drive 0 Unallocated Space” and click “Next.”
14) Windows installation will start
15) The Steam Deck will reset
16) Follow the Windows setup process
17) The Windows desktop will emerge
You will see that everything appears on the screen sideways. Simply head over to Start > Settings > System > Display and scroll down to Display Orientation. Select “Landscape” to change the screen orientation in the right direction. And voila! you should now be able to use Windows on your Steam Deck.
RELATED – Cheapest SD Cards for Steam Deck
Method 2 – Boot Windows from a microSD card or USB Drive
First, you’ll need a Windows ISO. Visit this link here to get the media creator. Use a separate, Windows-based PC for this. Follow the instructions to create the ISO. You will also need software to make your microSD card into a bootable drive. You can use Rufus, which is free but feel free to use any other software which can get the job done. Then follow the steps below:
1) Open Rufus
2) Choose your microSD card and Windows ISO
3) Under Image Option, select “Windows to Go.”
4) Under the partition method, choose MBR. In advanced options, check “Use Rufus MBR with BIOS ID”
5) Tap “Start” and wait
6) Eject your SD card from your PC and put it in the Steam Deck
7) Turn your Steam Deck off. Wait for it to shut down completely. Then, press and hold the Volume Down button and power on the system via the boot menu
8) Choose the SD Card in the boot manager.
9) Windows will begin to boot
10) Complete the Windows setup
As everything appears on the screen sideways, you can fix this by heading over to Start > Settings > System > Display and scrolling down to Display Orientation. Select “Landscape” to change the screen orientation in the right direction. As Windows is on the microSD card, you’ll have to enter the boot manager (Volume Down + Power) and select the SD card to return to Windows.
RELATED – Steam Deck Specs


Published: Mar 3, 2022 11:01 am