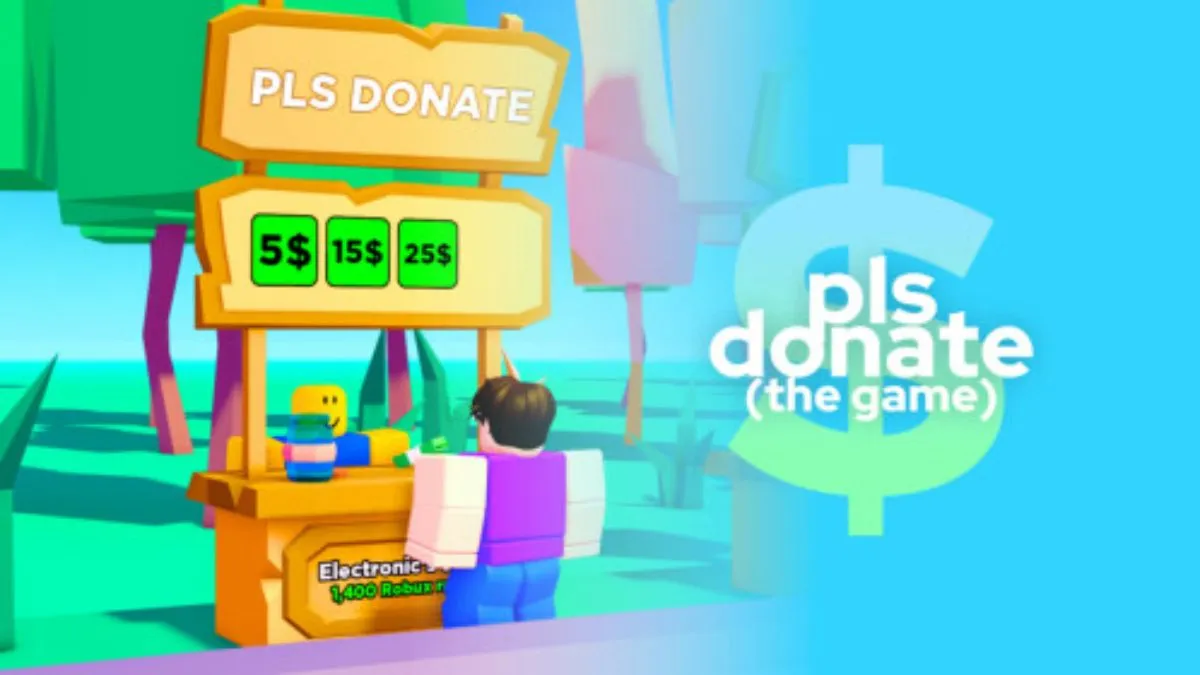
If you are looking to create and use a gamepass in Roblox PLS DONATE, then look no further. In this guide, we will walk you through all the steps you need to perform to create a new gamepass experience, as well as what you need to do to add it to one of your claimed Stands in PLS DONATE and start receiving donations.
Related | PLS DONATE codes
How to make a gamepass for PLS DONATE
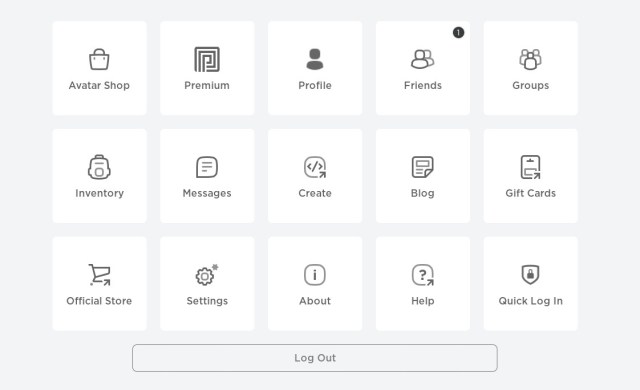
You can make a gamepass for PLS DONATE using the Create option in Roblox, which allows you to create and add a variety of experiences in different forms, including gamepass.
Related | How to make color text in Roblox PLS DONATE
To begin the process, either launch Roblox Player or log in to Roblox in a browser. Once that is done, follow the below steps to make a gamepass:
- Click on the Create tab;
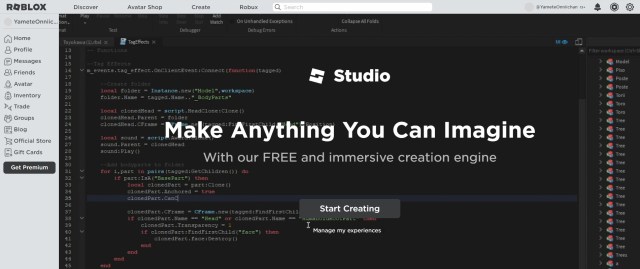
- Now, click on the Manage My Experiences option found below the Start Creating button;
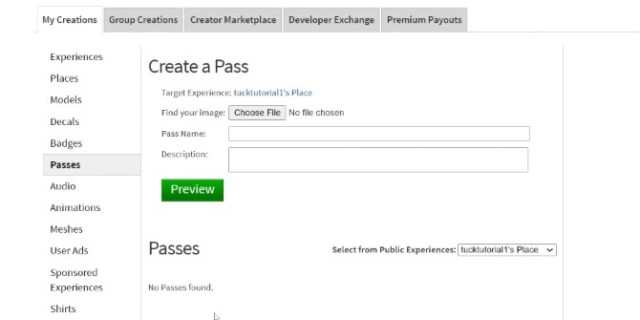
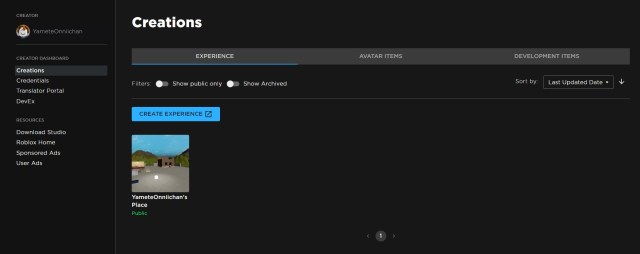
- Under the My Creations tab, you will find a list of sub-menus, one being Passes. Click on it;
- Note: Roblox has changed its UI; you may not see the Passes tab. In that case, click on Create New Experience and make a pass via Roblox Studio;
- Add the gamepass name, image, and description;
- Use the Configure option available at the bottom right side to set the gamepass price;
- Lastly, save the created gamepass.
How to use created gamepass in PLS DONATE
To use the newly created gamepass in PLS DONATE, interact with a claimed Stand and click the refresh icon. Doing so will add the gamepass to the Stand, and people can start donating by interacting with it.
That concludes our guide on how to create a gamepass in PLS DONATE. For more on PLS DONATE, check out our section dedicated to it.





Published: Feb 22, 2023 03:27 pm