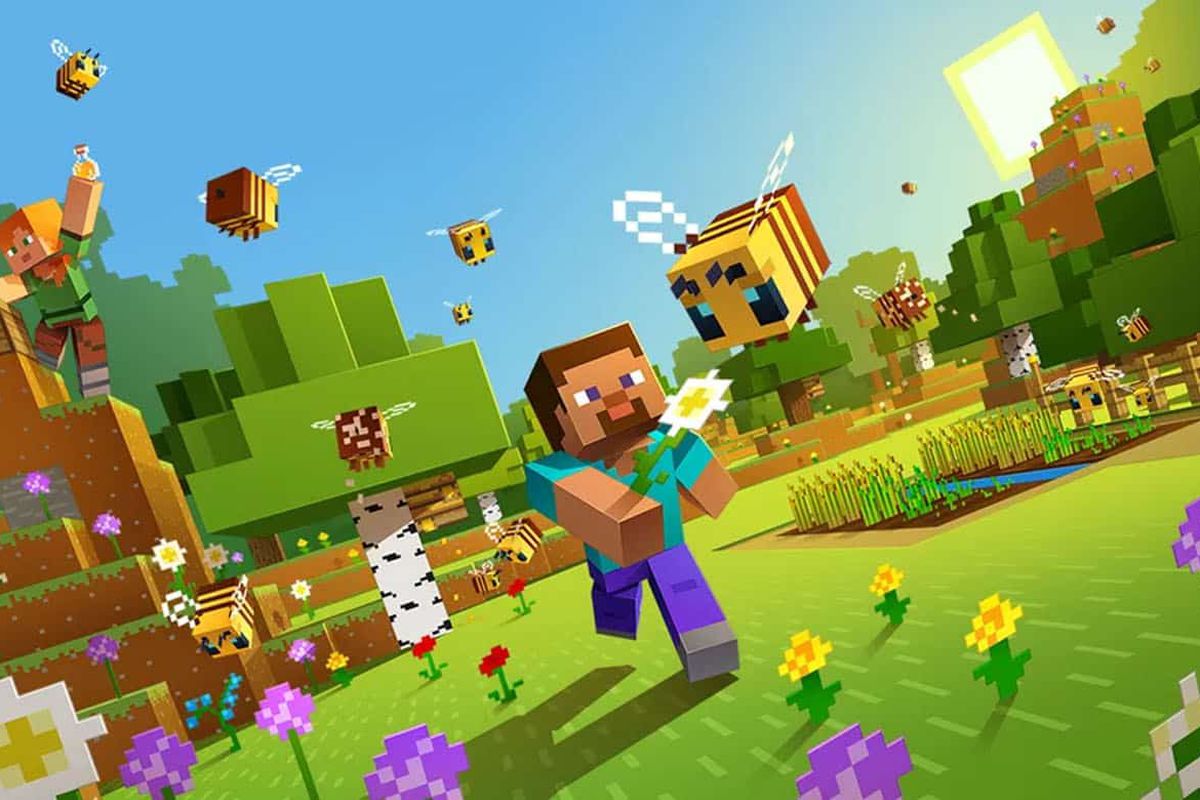
It’s been some time since Oculus announced its full support for Minecraft and its compatibility with Oculus Quest 2. This opened up a whole new avenue for players to experience Minecraft, and the game truly runs and looks fantastic in VR. For the uninitiated, the Oculus Quest 2 is the company’s latest VR headset which allows the ability to play and run VR games.
If you have been looking to experience Minecraft in a whole new way, here’s how you can play Minecraft VR on the Oculus Quest 2.
How to play Minecraft VR on the Oculus Quest 2
The whole process is rather straightforward and won’t take much time to set up. Here are the steps required to get Minecraft working properly for the Oculus Quest 2:
- Install Java here
- Install Minecraft here
- Install SteamVR here
- Install Vivecraft here
- Install Virtual Desktop here
Once you have downloaded all the above files, you need to run Minecraft. This will launch the game launcher, and you will need to select the Installations button in the top left and then choose the Vivecraft installation. Before you run it, launch the Virtual Desktop Streamer (VDS). After starting the VDS, put on your Oculus Headset. In the headset, do exactly as said below:
- Run VDS
- Connect to PC
- Start Steam VR
- Run Minecraft
If you have performed all the above steps correctly, you will be able to launch and play Minecraft VR on your Oculus Quest 2.






Published: Jan 5, 2022 07:15 am