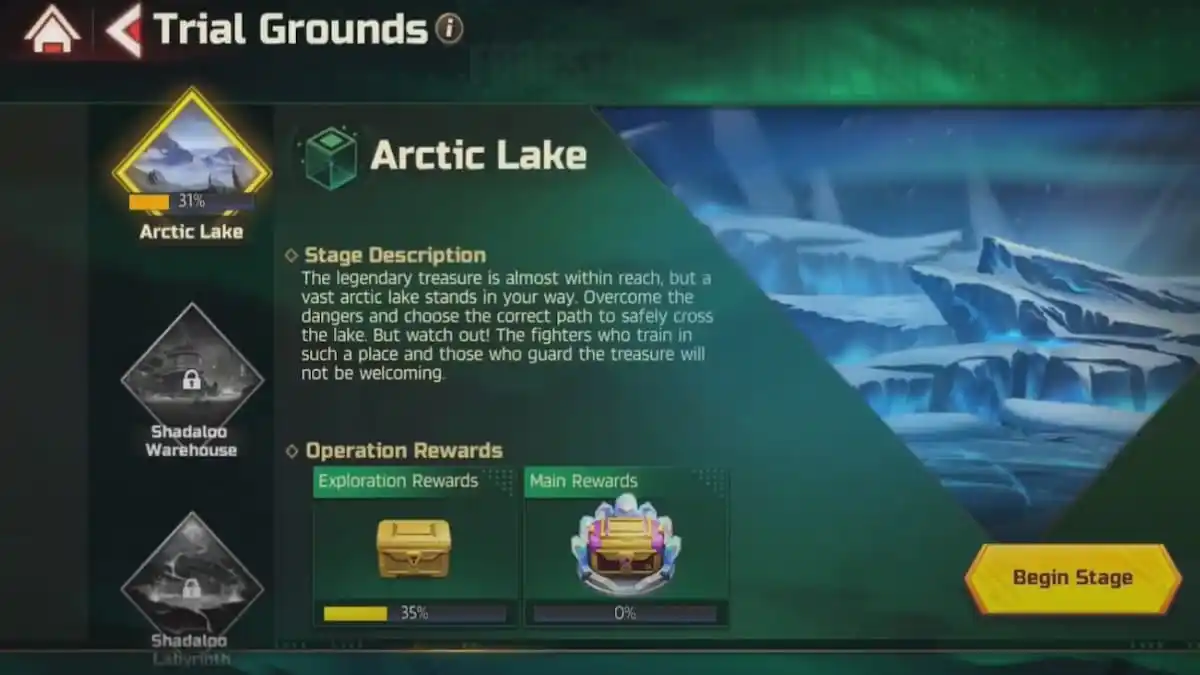
To access Arctic Lake in Trial Grounds in Street Fighter: Duel, you have to clear stage 9-12 and achieve at least 60% completion in the previous trial level, named Frozen Cave. These stages are unique combinations of puzzles and fighting stages, where you get to explore the area and claim valuable prizes.
However, the puzzle aspect of each trial can get quite confusing. You need to think hard in some sections to figure out the best—or the only—way to get to the next fight or chest. If you have completed the Frozen Cave and now struggle with the next trial, this guide on how to solve the Arctic Lake puzzle in Street Fighter: Duel might help. Let’s dive in!
Related: The Best Combos in Street Fighter: Duel
How to clear Arctic Lake in Street Fighter: Duel
The key to solving the puzzles in Global Operation in Street Fighter: Duel and figuring out the right path to the final reward is knowing how to move. Here are the precise steps you should follow if you want to clear Arctic Lake:
- Move forward just one field and turn left—drive to the field where you can turn right and reach the first challenge station (enemy team power: 110k);
- Head back to the field where you turned right to fight your first enemies in this trial, then turn right to continue down your initial path;
- Move up until you reach the path that opens up between patches of ice and rocks, and go all the way left;
- Turn right when you reach the mountains, and drive straight between the ice and mountains to reach the next challenge (enemy team power: 120k);
- After defeating the second set of enemies, make your way back to the field where you turned left in step 3, turn left, and continue down the path between ice and mountains until you reach the next challenge station (this one is parallel to the previous station, but a bit more challenging, with the enemy team power of 124k);
- Now, head back to the patch of snow where the ice trail begins, and take the icy path all the way to the next challenge (enemy team power: 116k);
- Open the chest and continue down the icy path, turn right when possible, then left at the obstacle, then right again when you get to the rocks—the goal here is to avoid the icy pit in front;
- Turn right again to get to the next challenge (enemy team power: 178k);
- After beating the enemy, head back and work your way between rocks and ice until you’re facing the mountain next to a pit;
- Turn right and go down along the line of pits that should be on your left side and make your way to the next challenge (enemy team power: 137k);
- Reverse and make your way to the next challenge stop by passing through the gap between a pit and mountains (enemy team power: 194k);
- Use the single ice mountain nearby to make your way to the next challenge stop (power level: 202k);
- After the fight, go left to another challenge stop close to a portal (power level: 209k);
- Pass through the portal and head to the next challenge right in front of you (power level: 234k);
- Continue straight to the next challenge right in front (power level: 304k) and clear another challenge right next to it (power level: 297k)—there are three chests in that area, so make sure to claim all of them;
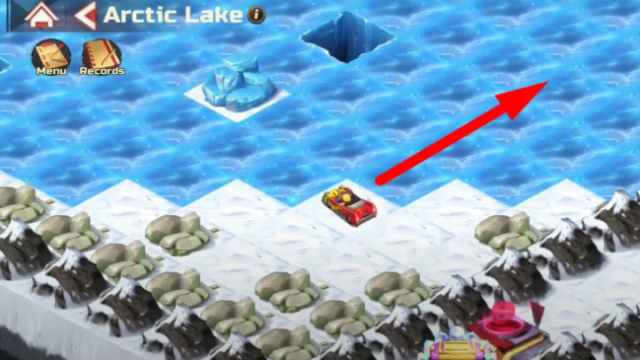
- Make your way to the position like in the picture below, and turn right to go to the upper part of the map across the ice;

- When you hit the mountains, turn left and drive until you hit mountains again—make your way up and right to the next challenge (power level: 374k) and claim the chest behind it;
- Head down the snowy path after claiming the chest until you hit the ice formation, then turn right to get to your next challenge (power level: 392k);
- Pass through the portal and turn back when you teleport to the other part of the map—you can make it to the next challenge (power level: 478k) by turning right and then left following the rocky obstacles;
- Move down to the next challenge (power level: 478k) when the path clears, then to the third one in this area (power level: 495k);
- Keep moving down and collecting chests on the way—the path is quite straightforward;
- Before the path forks, you need to clear another challenge (power level: 522k). Make sure to do the challenge on the right side first (power level: 561k) before making your way to the final challenge (power level: 588k).
Finally, you can claim your Fighting Soul and other rewards and be done with this frozen, maddening stage.
Let us know in the comments if you find this guide helpful, and explore the rest of our Street Fighter: Duel section for more help with this fun game!


Published: Mar 16, 2023 10:25 am