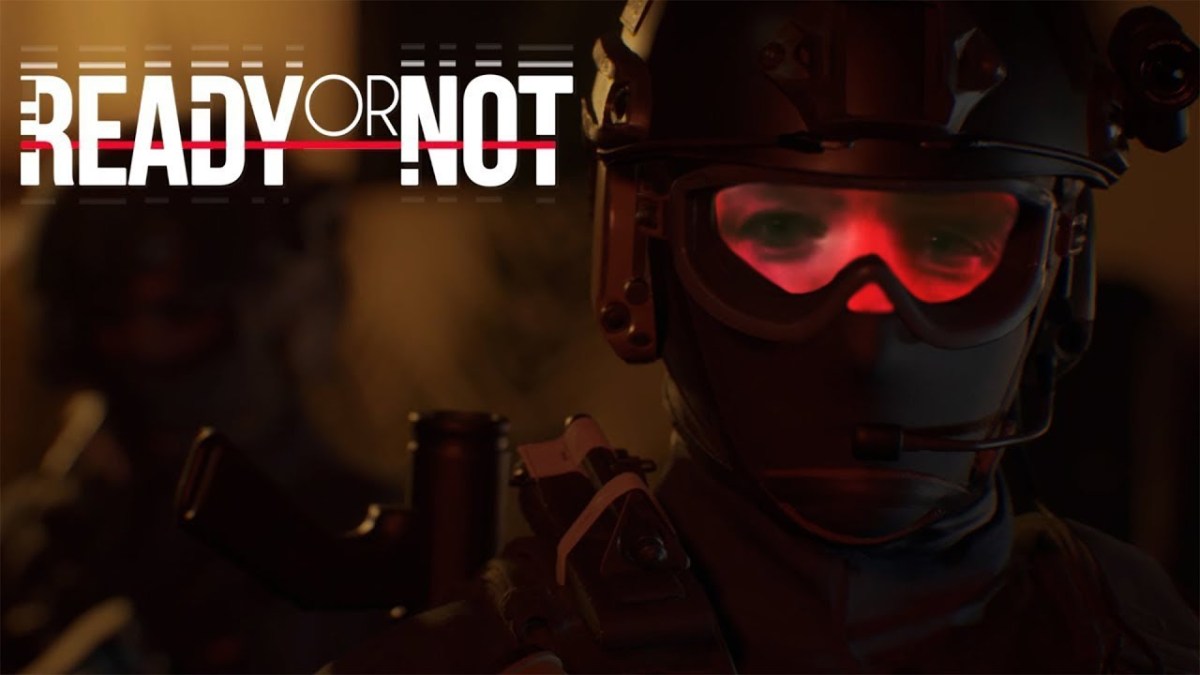
In modern shooters, there are a lot of different features and mechanics. Compared to old video games, it is absolute magic. However, most mechanics in new shooters are pretty uncommon, and players need time to get used to them. Read this guide, and you will find out how to turn on Laser in Ready or Not. No time to lose. Let’s get started!
Using Laser in Ready or Not
Honestly, Ready or Not provide players with one of the biggest customizations. No secret that in the game, you can customize everything, from your character’s armor to different attachments that you can put on your weapon in a few minutes. And attachment is one of the most exciting things in Ready or Not.
In the game, there are not only ordinary attachments, such as scope or muffler but many modern ones, which are widely used among armies nowadays. There are even branded attachments from real life, which is exciting.
Related: Ready or Not Loadout Guide and Tips
One of the most exciting attachments is a laser. To equip this attachment on your weapon, go to the work table, and add it to the list of gun weapon attachments. When you have it done, you will be able to find the laser in “Under-barrel Attachments.”
And when you have equipped the laser, you will be able to use it. Of course, you can customize the settings and use any button you want. However, normally activating laser is set to TBM 2. To deactivate the laser, you need to press this button one more time. That is how it works.
In conclusion, using a laser is not a big problem in Ready or Not. However, remember that there are many other “Under-barrel Attachments” which you can use. That is how it is. Thank you for reading the guide. Hope you find it helpful!


Published: Aug 23, 2022 04:49 am